Proxmoxで立てたDebian12のDocker上でImmichをインストールする方法
index
doc
前提条件
- proxmox 8
- Debian12
- Proxmox上にDebian12のVMを構築する
- Docker
- Proxmox上に立てたDebian12にDockerをインストールする方法
Install
curl -o- https://raw.githubusercontent.com/immich-app/immich/main/install.sh | bash
cd immich-app/
ログ
ryota@immich:~$ curl -o- https://raw.githubusercontent.com/immich-app/immich/main/install.sh | bash
  % Total    % Received % Xferd  Average Speed   Time    Time     Time  Current
                                 Dload  Upload   Total   Spent    Left  Speed
100  2976  100  2976    0     0    556      0  0:00:05  0:00:05 --:--:--   667
Starting Immich installation...
Creating Immich directory...
Downloading docker-compose.yml...
Downloading .env file...
Generate random password for .env file...
Starting Immich's docker containers
[+] Running 61/61
 ✔ redis Pulled                                                                                                   97.4s
 ✔ database Pulled                                                                                               110.4s
 ✔ immich-server Pulled                                                                                          145.0s
 ✔ immich-machine-learning Pulled                                                                                 96.7s
[+] Running 6/6
 ✔ Network immich_default             Created                                                                      0.0s
 ✔ Volume "immich_model-cache"        Created                                                                      0.0s
 ✔ Container immich_machine_learning  Started                                                                      1.6s
 ✔ Container immich_postgres          Started                                                                      1.6s
 ✔ Container immich_redis             Started                                                                      1.6s
 ✔ Container immich_server            Started                                                                      0.7s
Successfully deployed Immich!
You can access the website or the mobile app at http://192.168.11.202:2283
---------------------------------------------------
If you want to configure custom information of the server, including the database, Redis information, or the backup (or upload) location, etc.

  1. First bring down the containers with the command 'docker compose down' in the immich-app directory,

  2. Then change the information that fits your needs in the '.env' file,

  3. Finally, bring the containers back up with the command 'docker compose up --remove-orphans -d' in the immich-app directory
.envファイルでカスタム設定を行う
コンテナを起動する
docker compose up -d
ログ
ryota@immich:~/immich-app$ docker compose up -d
[+] Running 4/4
✔ Container immich_redis Running 0.0s
✔ Container immich_postgres Running 0.0s
✔ Container immich_server Running 0.0s
✔ Container immich_machine_learning Running
```
## アクセス確認
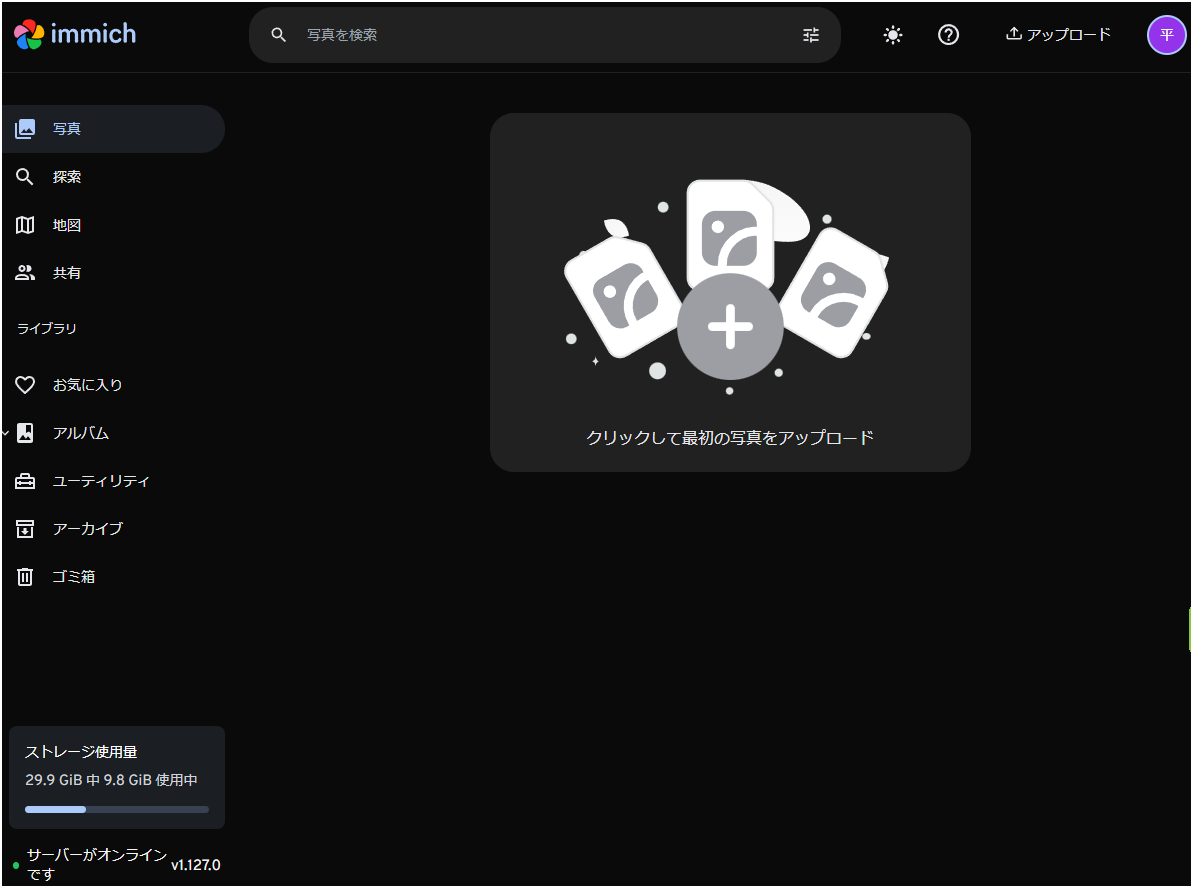
1. ポート:2283でアクセスできる
http://immich:2283/
2. ログインする
ストレージ使用量が9.8Gib/29.9Gibとなっているので、サーバのDISC容量がそのまま反映されているよう。
## Cloudflareで公開
細かい登録方法は「[CloudflareZeroTrustを利用して外部ネットワークからPromoxにアクセスする方法](docs/Network/Cloudflare/CloudflareZeroTrustを利用して外部ネットワークからPromoxにアクセスする方法.md)」を参照。
1. Cloudflare > Zero Trust >ネットワーク >Tunnels >トンネルを作成
2. Cloudflaredを選択する
3. トンネル名は「Immich」>トンネルを保存
4. 環境は「Debian」で「64-bit」、表示されたインストールコマンドをImmichサーバのコンソールで実行
```sh
curl -L --output cloudflared.deb https://github.com/cloudflare/cloudflared/releases/latest/download/cloudflared-linux-amd64.deb &&
sudo dpkg -i cloudflared.deb &&
sudo cloudflared service install eyJhIjoiMjYxZWVlYWY1NjI2NTE4ODE2YjViN2Y3YTc1NDFjY2IiLCJ0IjoiYjhiMjM3YzAtOTczMy00YTNjLWJhMjQtYjQwYmIyMzVlMTFhIiwicyI6Ik5UY3dZVGcxT1RJdE56STFZUzAwTUdOaExUaGxOVFF0TW1KbU9UaGtOREJrT1dNNSJ9
- ルーティング設定を行う
- パブリックホスト名の設定
- サブドメイン:immich
- ドメイン:primazenith.com
- タイプ:HTTPS
- URL:localhost:2283
- TLS検証なし:オン
- 「ホスト名を保存する」を選択
- プライベートネットワークの設定
- CIDR:192.168.11.202/24
- 「トンネルを保存」を選択
- アクセス確認(immich.primazenith.com)